Unlocking Creative Potential with a Watercolor Vector Circles Set
There is a distinct charm to hand-painted textures that digital perfection often struggles to replicate. The soft bleed of pigment, the organic edges, and the subtle variations in tone bring a human touch to design projects that flat colors simply cannot achieve. This is precisely why a Watercolor Vector Circles Set has become an essential asset for designers, marketers, and content creators alike. Whether you are crafting a typography magazine, designing a brochure for a local boutique, or creating eye-catching flyers for an event, these painted design elements offer versatility and warmth. However, integrating these assets into your workflow requires more than just downloading a file; it demands an understanding of how to select, manipulate, and apply them effectively to avoid common pitfalls that can diminish the quality of your final output.
Understanding the Hybrid Nature of Watercolor Vectors
One of the most frequent misunderstandings among beginners involves the file format itself. Many users assume that because an image looks like a watercolor painting, it must be a raster file (like a JPG or PNG). While raster files capture fine grain details beautifully, they lack scalability. A true Watercolor Vector Circles Set, typically delivered in EPS 10 format, combines the artistic look of traditional media with the mathematical precision of vector graphics. This means you can resize a circle from the size of a postage stamp to a billboard without losing a single ounce of clarity.
The mistake here lies in treating these vectors exactly like standard geometric shapes. Because they mimic organic paint strokes, their paths can be complex. If you attempt to apply standard gradient fills or rigid stroke weights without understanding the underlying path structure, you may inadvertently flatten the texture or create jagged edges that defeat the purpose of using a high-quality illustration. To avoid this, always inspect the artwork in your vector editor before applying effects. Recognize that the "paint" is actually a collection of carefully arranged paths designed to simulate fluidity.
Color Harmony and the Trap of Over-Saturation
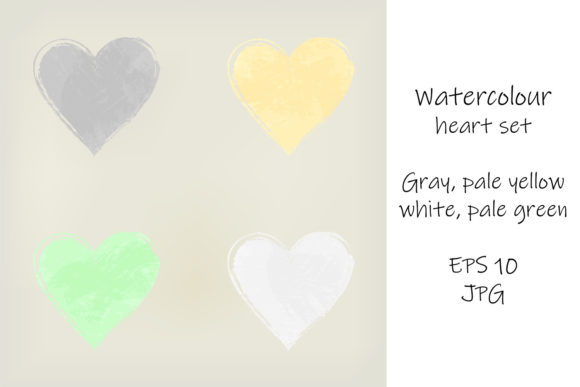
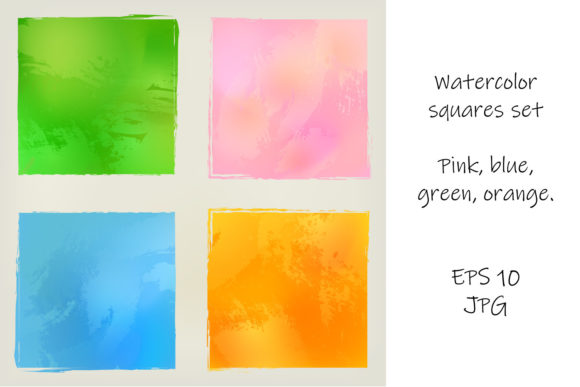
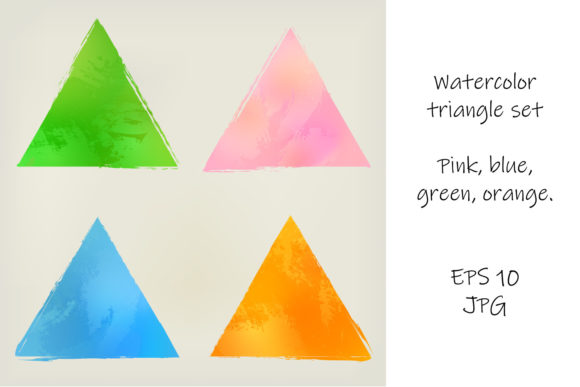
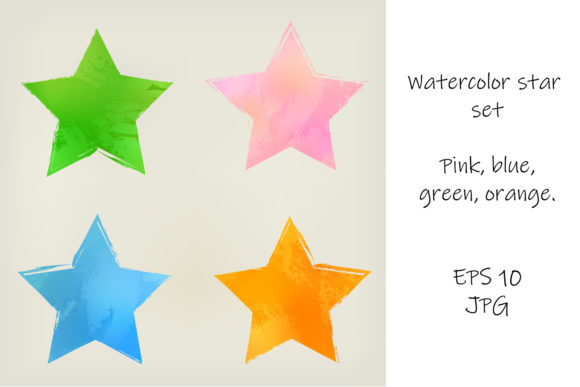
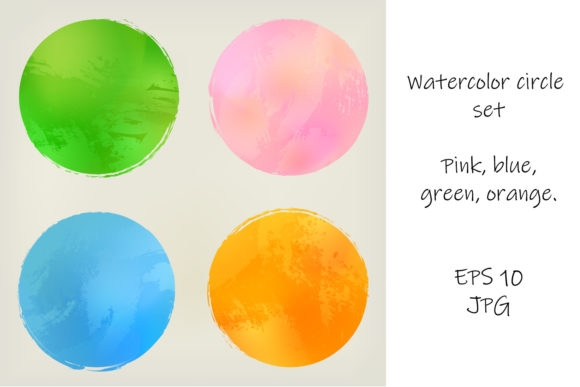
A typical set includes a curated palette, often featuring soothing shades of pink, blue, green, and orange. These colors are chosen specifically to work well together, providing a balanced aesthetic for web headers, social media graphics, or printed posters. A common error occurs when users feel compelled to recolor every element to match a specific brand guideline exactly, often pushing the saturation to maximum levels.
Watercolor, by definition, relies on transparency and the interaction of light with paper. When you force a vector watercolor shape into a neon or overly dark solid color, you lose the depth that makes the style appealing. The result often looks muddy or artificially digital. Instead of fighting the native palette, consider using blending modes in your design software. Setting your watercolor circles to "Multiply" or "Overlay" allows the underlying texture to shine through while still adapting to your background. If you must change colors, do so subtly, preserving the lighter and darker tones within the single shape to maintain the illusion of wet paint.
Resolution Matters: Choosing Between EPS and JPG
Most professional packs provide both EPS 10 and high-resolution JPG files. Knowing when to use which is critical for efficiency and quality. A significant oversight happens when designers use JPGs for large-format printing, such as trade show banners or large posters. Even a high-resolution JPG has a fixed pixel limit. Enlarging it beyond its intended size results in pixelation, making the soft edges of the watercolor look blocky and unprofessional.
Conversely, using complex EPS files for simple web thumbnails can unnecessarily bloat your website's loading speed. For web applications, blog headers, or social media posts where the graphic will remain small, the JPG version is often the smarter choice. It renders instantly and retains enough detail for screen viewing. Always ask yourself: Will this be scaled up? If the answer is yes, stick to the vector EPS. If the answer is no, the JPG offers a lightweight, hassle-free alternative that preserves the painted aesthetic without the technical overhead.
Composition and the Danger of Clutter
Because these sets contain numerous elements, there is a temptation to use them all. You might find yourself scattering pink, blue, green, and orange circles across every available inch of a flyer or brochure layout. This approach rarely works. Watercolor elements are expressive; they demand space to breathe. Overcrowding your design dilutes the impact of each shape and creates visual noise that confuses the viewer.
Effective design relies on negative space. Use the circles to frame key typography or to draw attention to a specific call-to-action, rather than using them as a generic background filler. For instance, in a magazine layout, a single large green watercolor circle behind a headline can create a stunning focal point, whereas twenty small circles scattered around the text will make the page look messy. Treat each circle as a deliberate brushstroke, not a pattern to be tiled endlessly.
Practical Steps for Better Integration
To ensure you get the most out of your Watercolor Vector Circles Set, consider adopting a checklist approach before finalizing any project:
- Verify the File Format: Ensure you have the EPS 10 file open in a compatible vector editor if you need to scale or edit paths.
- Test Print Colors: If designing for print, check how the pink, blue, green, and orange hues translate to CMYK. Screen colors can be deceivingly vibrant compared to ink on paper.
- Check Layer Organization: Good vector sets usually group elements logically. If the layers are flattened or disorganized, it may indicate a lower-quality source that will be difficult to edit later.
- Mind the Context: Ensure the organic style matches the tone of your brand. While versatile, watercolor may not suit ultra-corporate or industrial themes unless used very sparingly.
- Balance the Palette: Limit your color usage. Try using one dominant color from the set and one accent color, rather than deploying the entire rainbow in a single composition.
Elevating Your Design Workflow
Ultimately, the value of a Watercolor circle set lies in its ability to bridge the gap between digital precision and artistic expression. Whether you are a freelancer pitching to a new client, a small business owner creating your own marketing materials, or an educator designing engaging handouts, these tools can elevate the perceived quality of your work. The key is respect for the medium. By avoiding the traps of over-editing, ignoring resolution limits, and cluttering your layouts, you allow the natural beauty of the painted design elements to enhance your message.
Remember that great design is often about what you choose not to do. Let the soft edges of the watercolor circles guide your composition toward elegance and simplicity. With the right approach, these assets will not just decorate your projects; they will define them, offering a timeless aesthetic that resonates with audiences across web and print media.